If you’re a writer, you almost certainly have shelves of notebooks,
full of first drafts of novels or short stories which have long since
been transcribed onto the computer, and turned into printed books or
e-books.
Perhaps you like to
keep the first drafts as they are for posterity, but perhaps you
simply don’t want to throw them away, and so they just sit there
gathering dust. Perhaps the notebooks are too nice to throw in the
recycling, because they were gifts from friends or family, or the
lovely blank books you bought to encourage yourself to write.
What’s the
solution?
For me, it’s
turning them into art journals, or altered books. When I first heard
about the art of altering old books, it appealed to me, but
butchering books didn’t. Then it occurred to me that I could use
the notebooks full of first drafts and give them a new purpose in
life.
I’m not writing a
“how to” manual here. I’m just going to show you some of the
things you can do with an old notebook if you happen to be a bit
crafty as well as a wordsmith. If you’re inspired and want
instructions and/or ideas, search Pinterest or Instagram for “art
journals” or “altered books” and you’ll find plenty.
I’m writing this
during lockdown and have to admit at times wondering if mooching
around shops like Hobbycraft just to see what you can find will ever
be possible again, but there’s still Amazon and other online stores
and there are all kinds of things you might be able to find at home,
especially if you’re a bit of a hoarder, that will finally find
that purpose in life you always knew it had.
Here are a few of
the things I have used:
- Advertising leaflets
- Bleach (can be dripped on old, out of focus photos to make interesting effects)
- Carbon paper
- Christmas crackers/party hats
- Clip art
- Clothing labels
- Confetti
- Craft scissors/crimping shears
- Decorative paper napkins
- Ephemera, both found and purchased
- Last year’s calendar
- Old greeting cards
- Old magazines/newspapers
- Old maps
- Old photographs
- Origami paper
- Pens and pencils
- Pressed flowers
- Quality Street wrappers and other packaging
- Remnants of paint samples
- Ribbons
- Rubber stamps
- Rubbings of coins and other textures
- Scrapbooking supplies such as background paper
- Shaped hole punches
- Sponges or scrunched up paper for dabbing paint on backgrounds
- Stencils
- Stickers
- The sticky paper left behind after the stickers have been used
- The plastic mesh bags fruit and veg sometimes come in
- Tippex
- Transfers
- Washi tape
- Watercolour paints
- Wax candles (Scribble on a page with the wax and paint over it with watercolour)
- Wrapping paper.
A few of my
favourites:
 |
Patterned pages from an old magazine torn up and roughly glued. A
rubber stamp of Chinese characters. Cutouts from magazines.
 |
Rubber
stamps, old photo ephemera from Amazon. A bit which fell off an old
Christmas decoration, magazine cutouts, decorative craft tape, found
ephemera.
 |
A picture from a magazine and craft tape.
 |
Magazine cutouts, a pressed orchid, washi tape.
 |
Birthday card, nature ephemera from Amazon, craft tape, confetti,
watercolour paint.
 |
Old craft paint, paint sample, magazine cutouts, rubber stamps.
|
 |
Magazine cutouts, stickers, watercolour paint.
|
 |
Watercolour paint, felt tip pens, metallic markers and white markers
|
 |
Magazine cutout of a window with the glass cut out and I’ve doodled
on my writing underneath to make it look like fantasy script. Then
used a red marker to draw the bricks around the edge.
|
 |
My drawing, coloured with felt tip pen and the background drawn with a
gel pen. Both this example and the previous one made use of a
technique called Zentangle. If you like to doodle and draw, Google
it. But make sure you have lots of time and drawing pens!
|


Finally I added quotes, sayings or jokes so that each page also had
some words on it. Here’s the first page. And again with the pages
spread to emphasise the 3D effect.
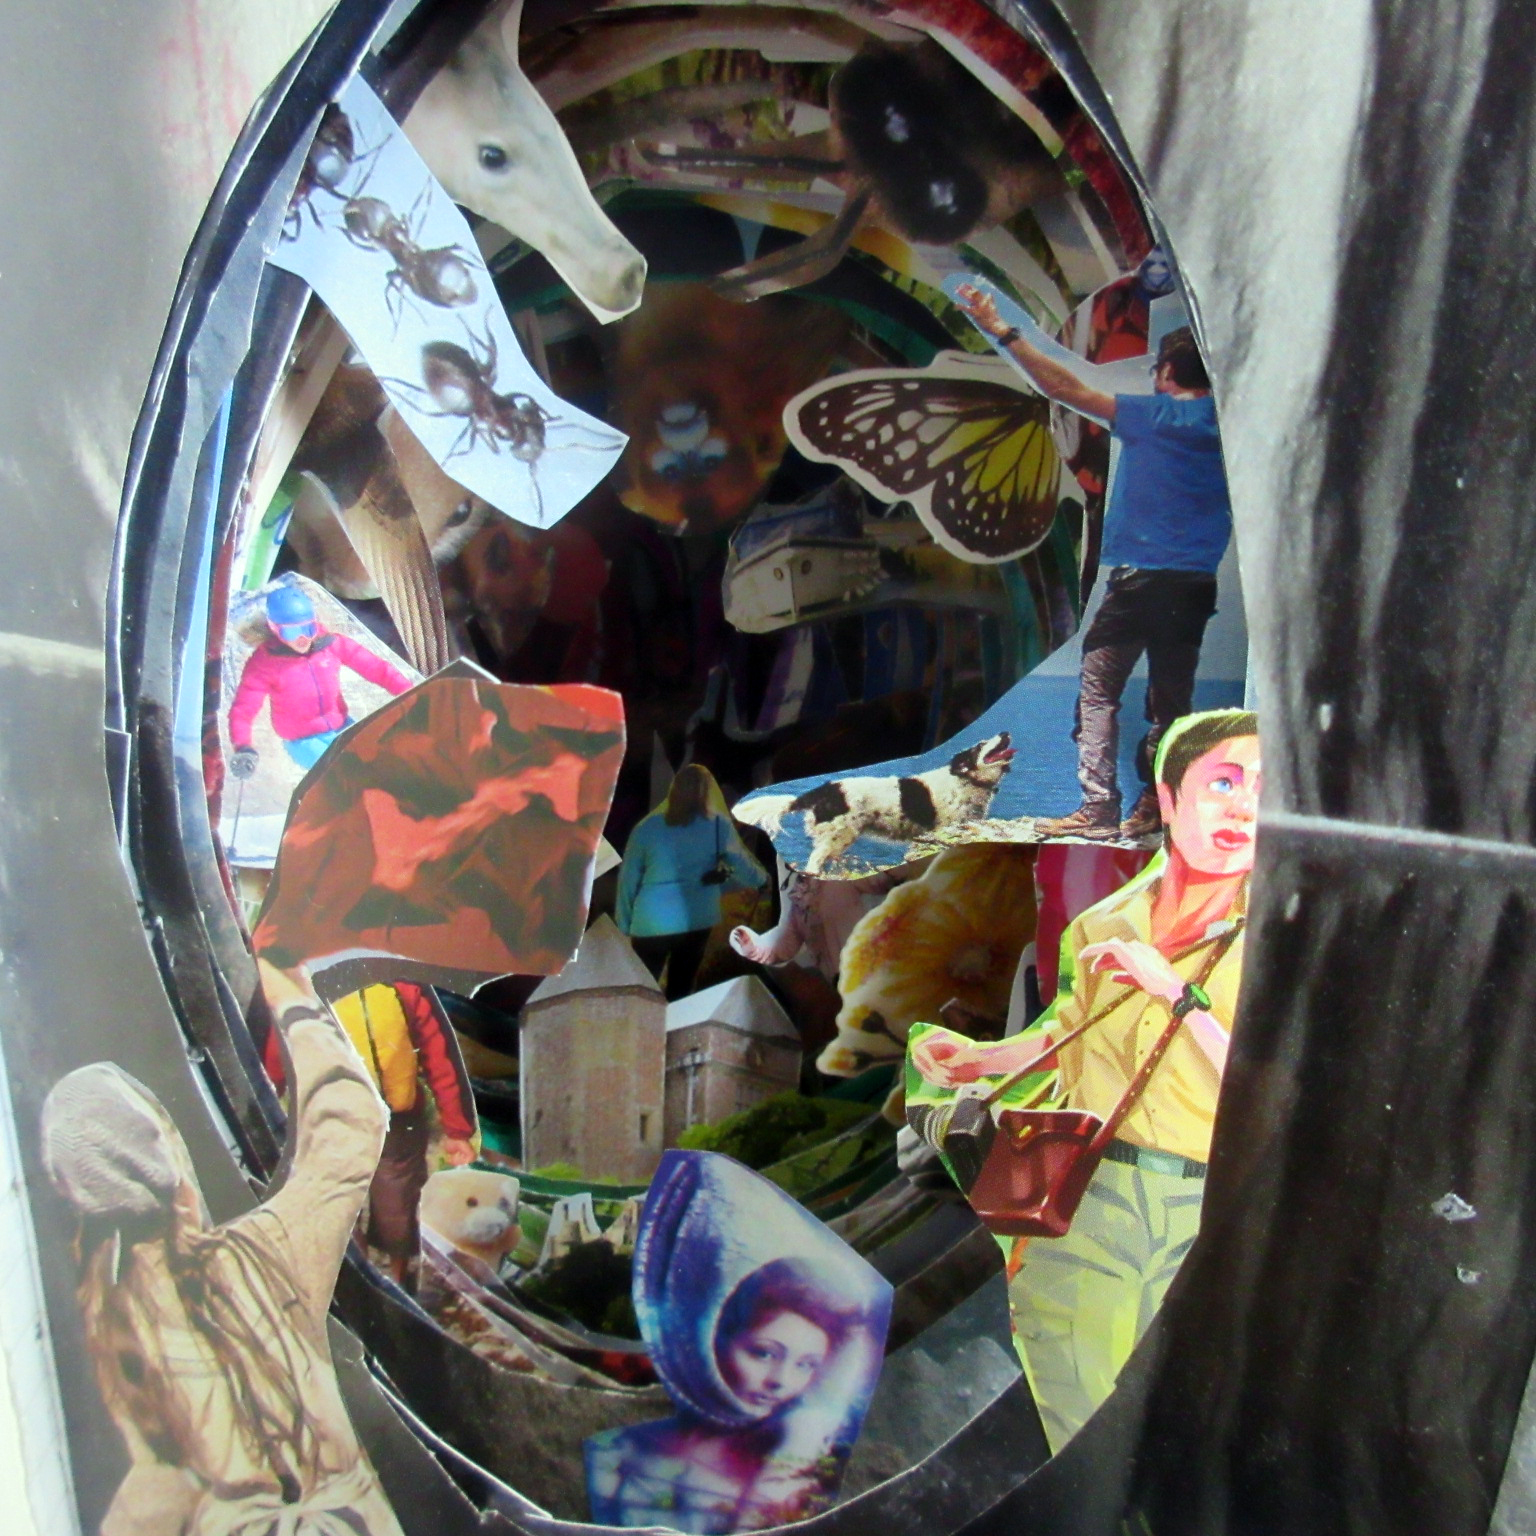

It may well be a bit too busy and cluttered for some people’s
tastes. Personally I liked the fact that as you turn the pages, more
things become visible:


If you fancy giving this a try, you can simply experiment or you can give your creation a theme, such as:
- Travel
- Seasons
- Love
- The sea
- Colours
- Family
- Memories
- Nature
- Christmas.
Have fun!